How to change your Wi-Fi network name and password
You can easily change your Wi-Fi network name and password manually or through the MyFrontier mobile app.
If you have an eero or an Ultrafast Wi-Fi 6E System, please refer to their specific help pages for assistance.
Get eero support. Get Ultrafast Wi-Fi 6E System support.

How to find my Wi-Fi name and password
To set up a Wi-Fi connection on your devices, you'll need your wireless network name and password. This video will show you how to find them.
How to change your router’s password with the MyFrontier app
- Customers with an Arris router: Tap Manage Wi-Fi on the MyFrontier home screen. This opens a page where you can manage your Wi-Fi network name and password.
- Customers with an eero router: Tap the eero app button inside the MyFrontier app. This opens the eero app where you can manage your Wi-Fi settings, including your password.
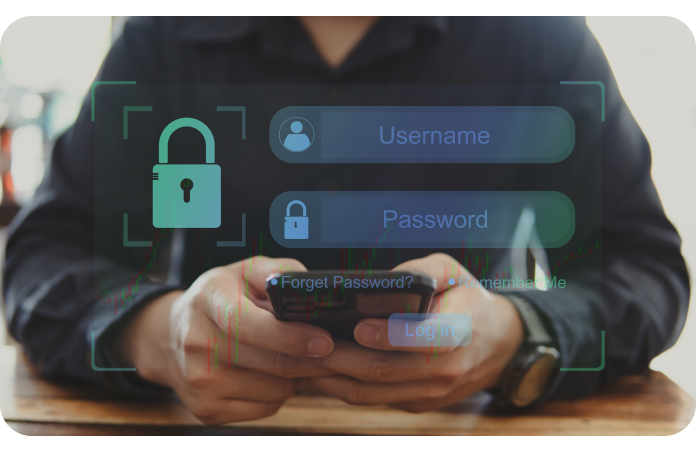
How to change your password manually
- Find your network name (or SSID) and password on a sticker on the back, bottom or side of your router.
- Connect a computer directly to your wireless router with an Ethernet cable.
- When asked, choose WPA/WPA2 security and AES encryption (depending on your options).
- When asked, create a strong password (or key) to keep your wireless network secure: minimum 8 characters; mix of letters (upper and lower case), numbers and symbols (no spaces). Avoid using common words or personal information.
- Make note of your new password and keep it safe.
Instructions by router brand and model number
Actiontec F2250
- Open a web browser and go to http://192.168.0.1. Log in with the username admin and the password admin.
- Click the Wireless tab near the top of the main screen and choose Basic Settings in the menu on the left.
- Enter a name for your network that's easy to remember.
- Choose the WPA2-Personal for the Security Type and AES for the Encryption Type.
- Create a strong password in the Passphrase/Key field.
- Click Apply.
- Now that your wireless network has a new name and password, you must re-connect your wireless devices (computer, smartphone, tablet, etc.) to the new network using the new password.
Actiontec GT784WNV
- Open a web browser and go to http://192.168.0.1. Log in with the username admin and the password.
- Click the Wireless Setup tab near the top of the main screen and choose Basic Settings in the menu on the left.
- Click to Enable the wireless radio state if necessary.
- Enter a name for your network that's easy to remember.
- Be sure to select WPA/WPA2 Security.
- Create a strong password in the Pre-Shared Key (PSK) for Home Network field.
- Click Apply.
- Now that your wireless network has a new name and password, you must re-connect your wireless devices (computer, smartphone, tablet, etc.) to the new network using the new password.
Actiontec WR424 Rev E, F and I
- Open your web browser and go to http://192.168.0.1. Note: If you have trouble connecting to your router with your web browser, make sure your computer is configured to Obtain an IP Address Automatically.
- Enter the Default User ID (admin) and the Default Password (password or password1) on the login page. Note: If you already personalized your password, enter that password instead.
- Click Wireless Settings from the top menu.
- Click Basic Security Settings from the left-hand menu.
- You can change your WEP key in section 5.
- Click Apply.
- Now that your wireless network has a new name and password, you must re-connect your wireless devices (computer, smartphone, tablet, etc.) to the new network using the new password.
Arris NVG443B, NVG448B, NVG448BQ, NVG468MQ
- Open your web browser and go to http://192.168.254.254.
- In the Name field enter Admin. In the Password field enter the password that's on the label on the bottom of your router. Note: If you have trouble connecting to your router with your web browser, make sure your computer is configured to Obtain an IP Address Automatically.
- Select Wireless from the main menu.
- Select Total Control Wireless. You will see a network name (also called an SSID) and a password for connecting to your home network. Enter a new network name and password and click the Apply button.
- Note: If Total Control Wireless is disabled:
- Select Basic Settings 2.4 GHz to setup the 2.4 GHz Wi-Fi network or Basic Settings 5 GHz to setup the 5 GHz network.
- You will be prompted for a Username and Password to change these settings. They are located on the sticker on the bottom of the router . Note: If you already personalized your login and/or password, then enter them instead.
- Enter the new name and password and click the Apply button.
- Now that your wireless network has a new name and password, you must re-connect your wireless devices (computer, smartphone, tablet, etc.) to the new network using the new password.
Arris NVG589
- Open a web browser and go to http://192.168.1.254.
- Click the Home Network tab at the top of the page.
- Click Wireless. If prompted, enter the Access Code from the printed sticker on the back or bottom of the router.
- Enter a name for your network that's easy to remember.
- Select WPA — Custom under Security settings.
- Create a strong password in the Key field.
- Click Save.
- Now that your wireless network has a new name and password, you must re-connect your wireless devices (computer, smartphone, tablet, etc.) to the new network using the new password.
Tired of forgetting your password? Add Wi-Fi Security Plus for automatic password storage
Safely create, store, and share unique passwords in one secure, central place. Plus, safeguard your internet, devices, and data from online threats. Learn more about Wi-Fi Security Plus.
Share
IN THIS ARTICLE
- How to change your router’s password with the MyFrontier app
- How to change your password manually
- Instructions by router brand and model number
Share